My Journey Finding the Doug Build That Works
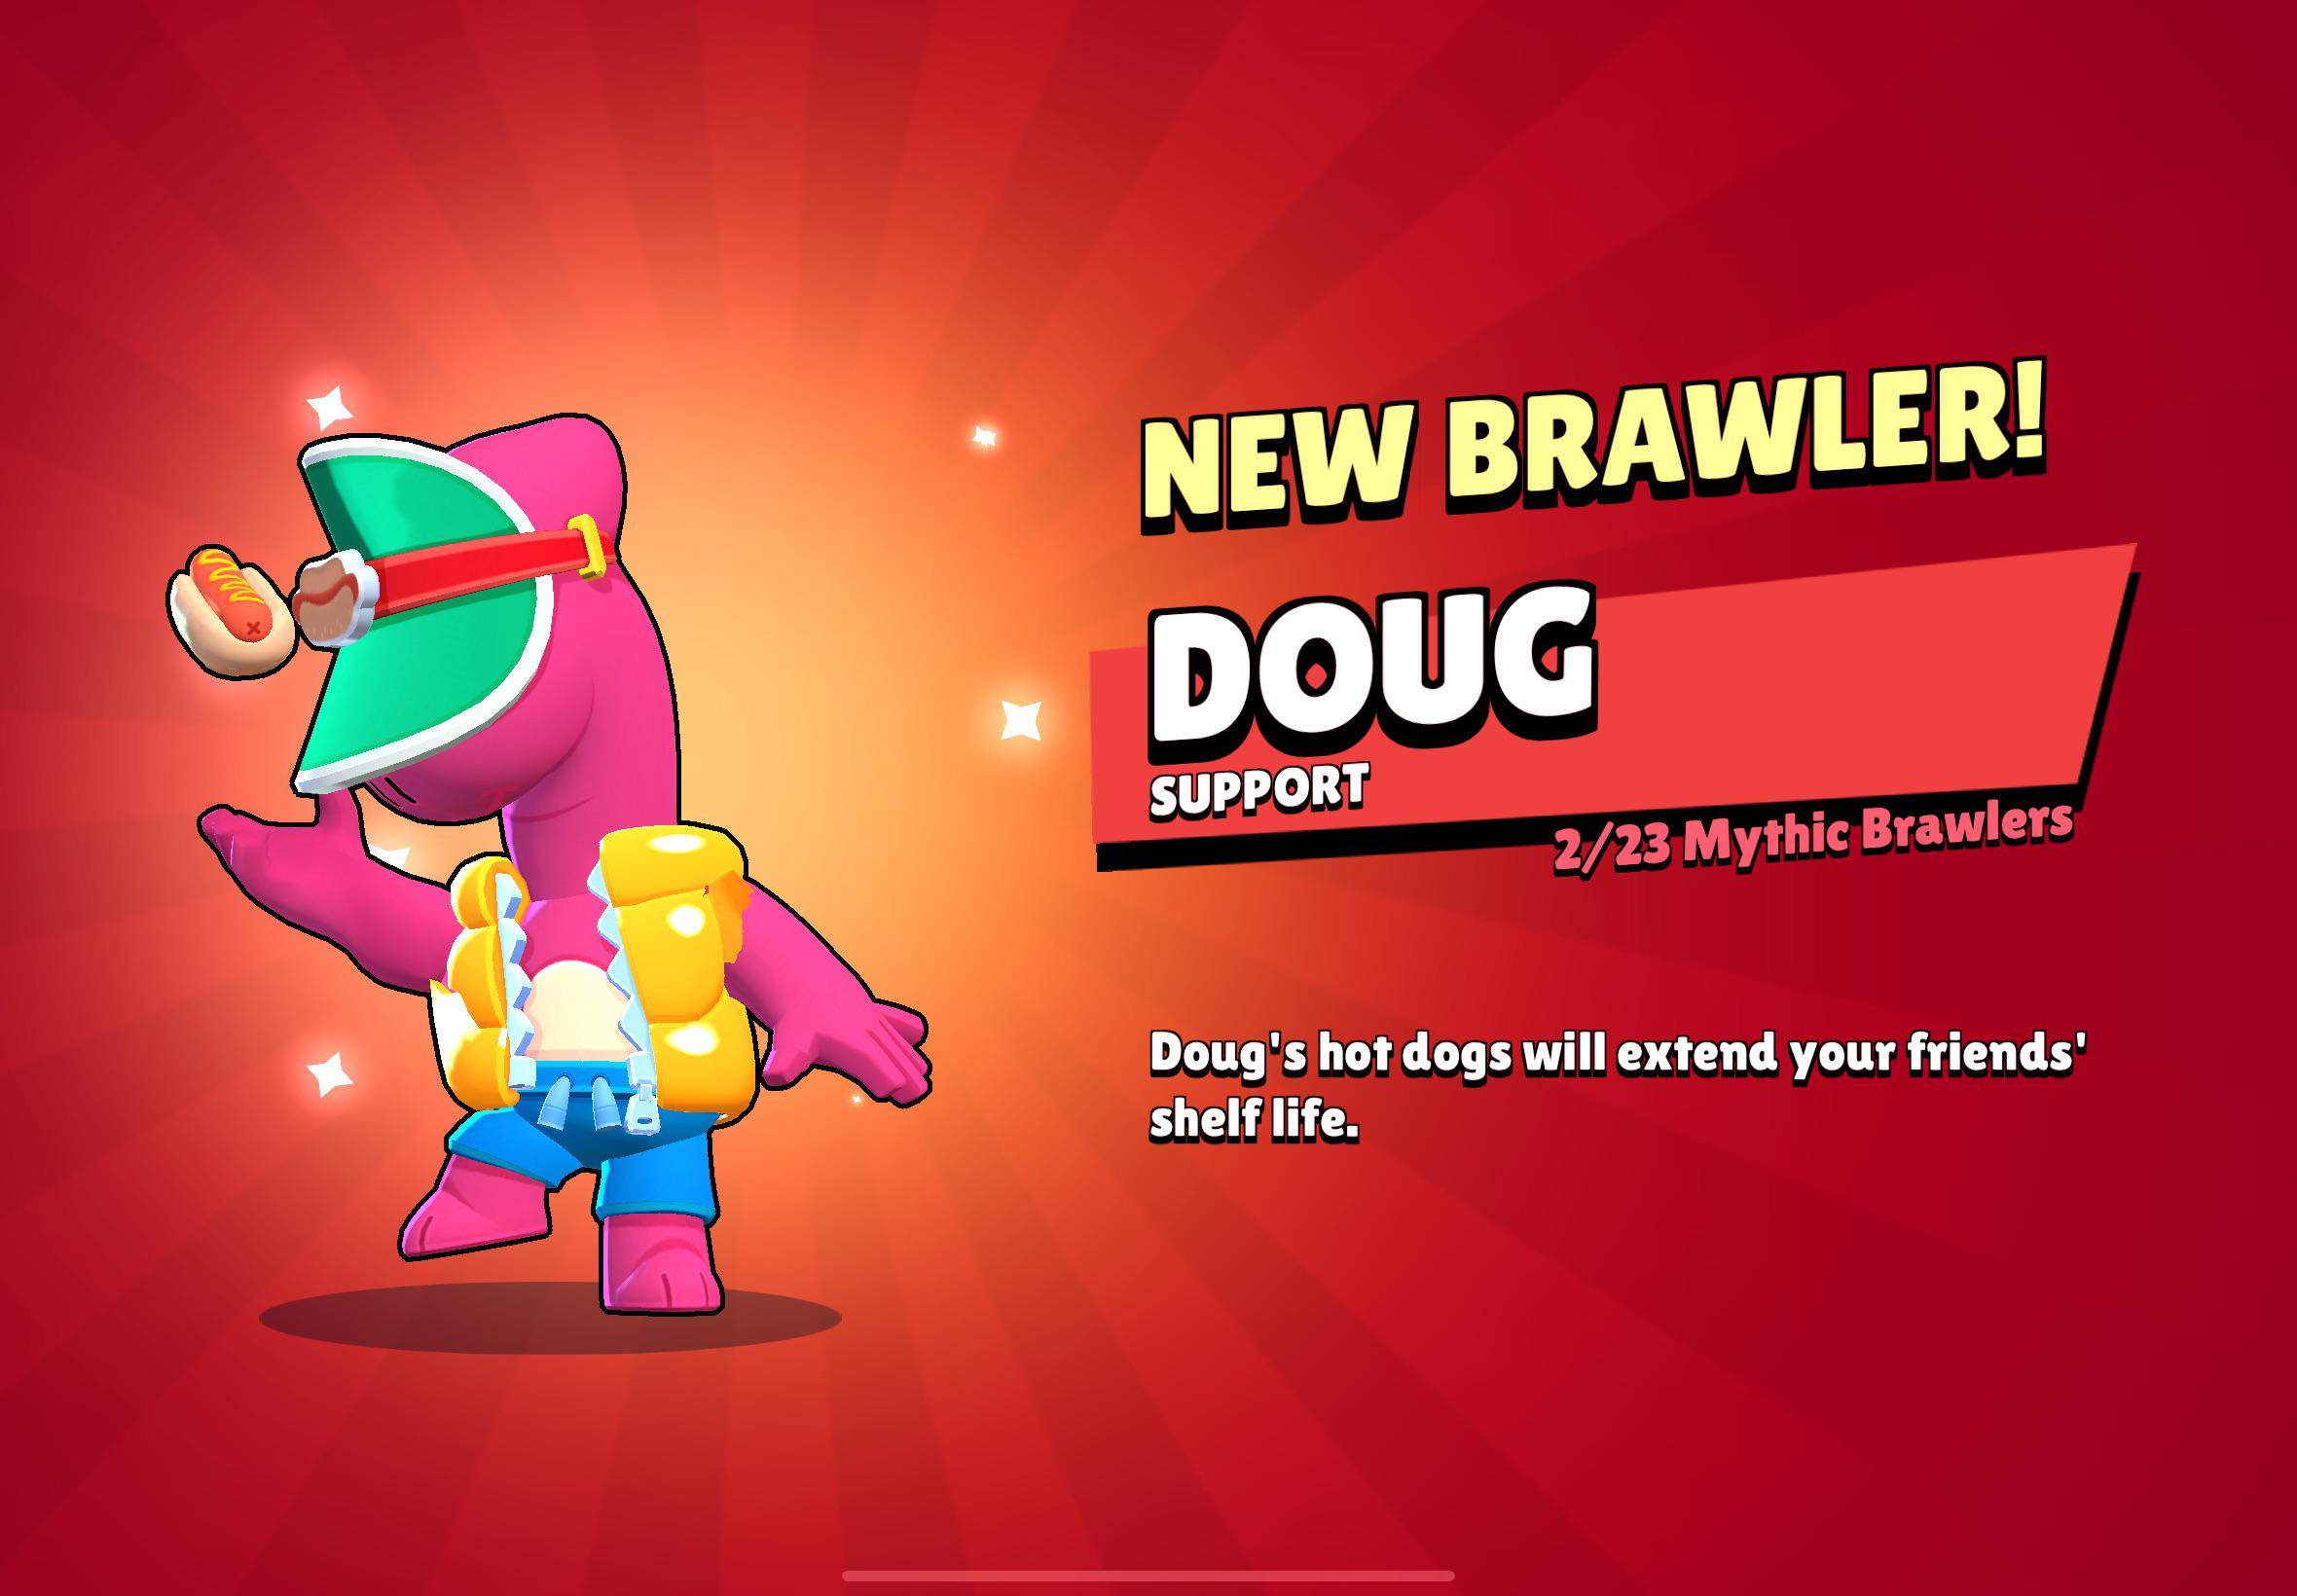
Alright, let’s talk about Doug. When he first dropped, I was kinda curious. Heard folks talking about this support guy who could revive teammates, sounded pretty neat. So, I managed to unlock him and decided to give him a serious try.
First few games? Honestly, a bit rough. I just slapped on whatever seemed logical, you know? The default stuff. He felt slow, clunky, and I wasn’t really getting the hang of his attack range or timing that revive Super right. Died. A lot. Teammates probably hated me for a bit there.
Trying Out the Gadgets
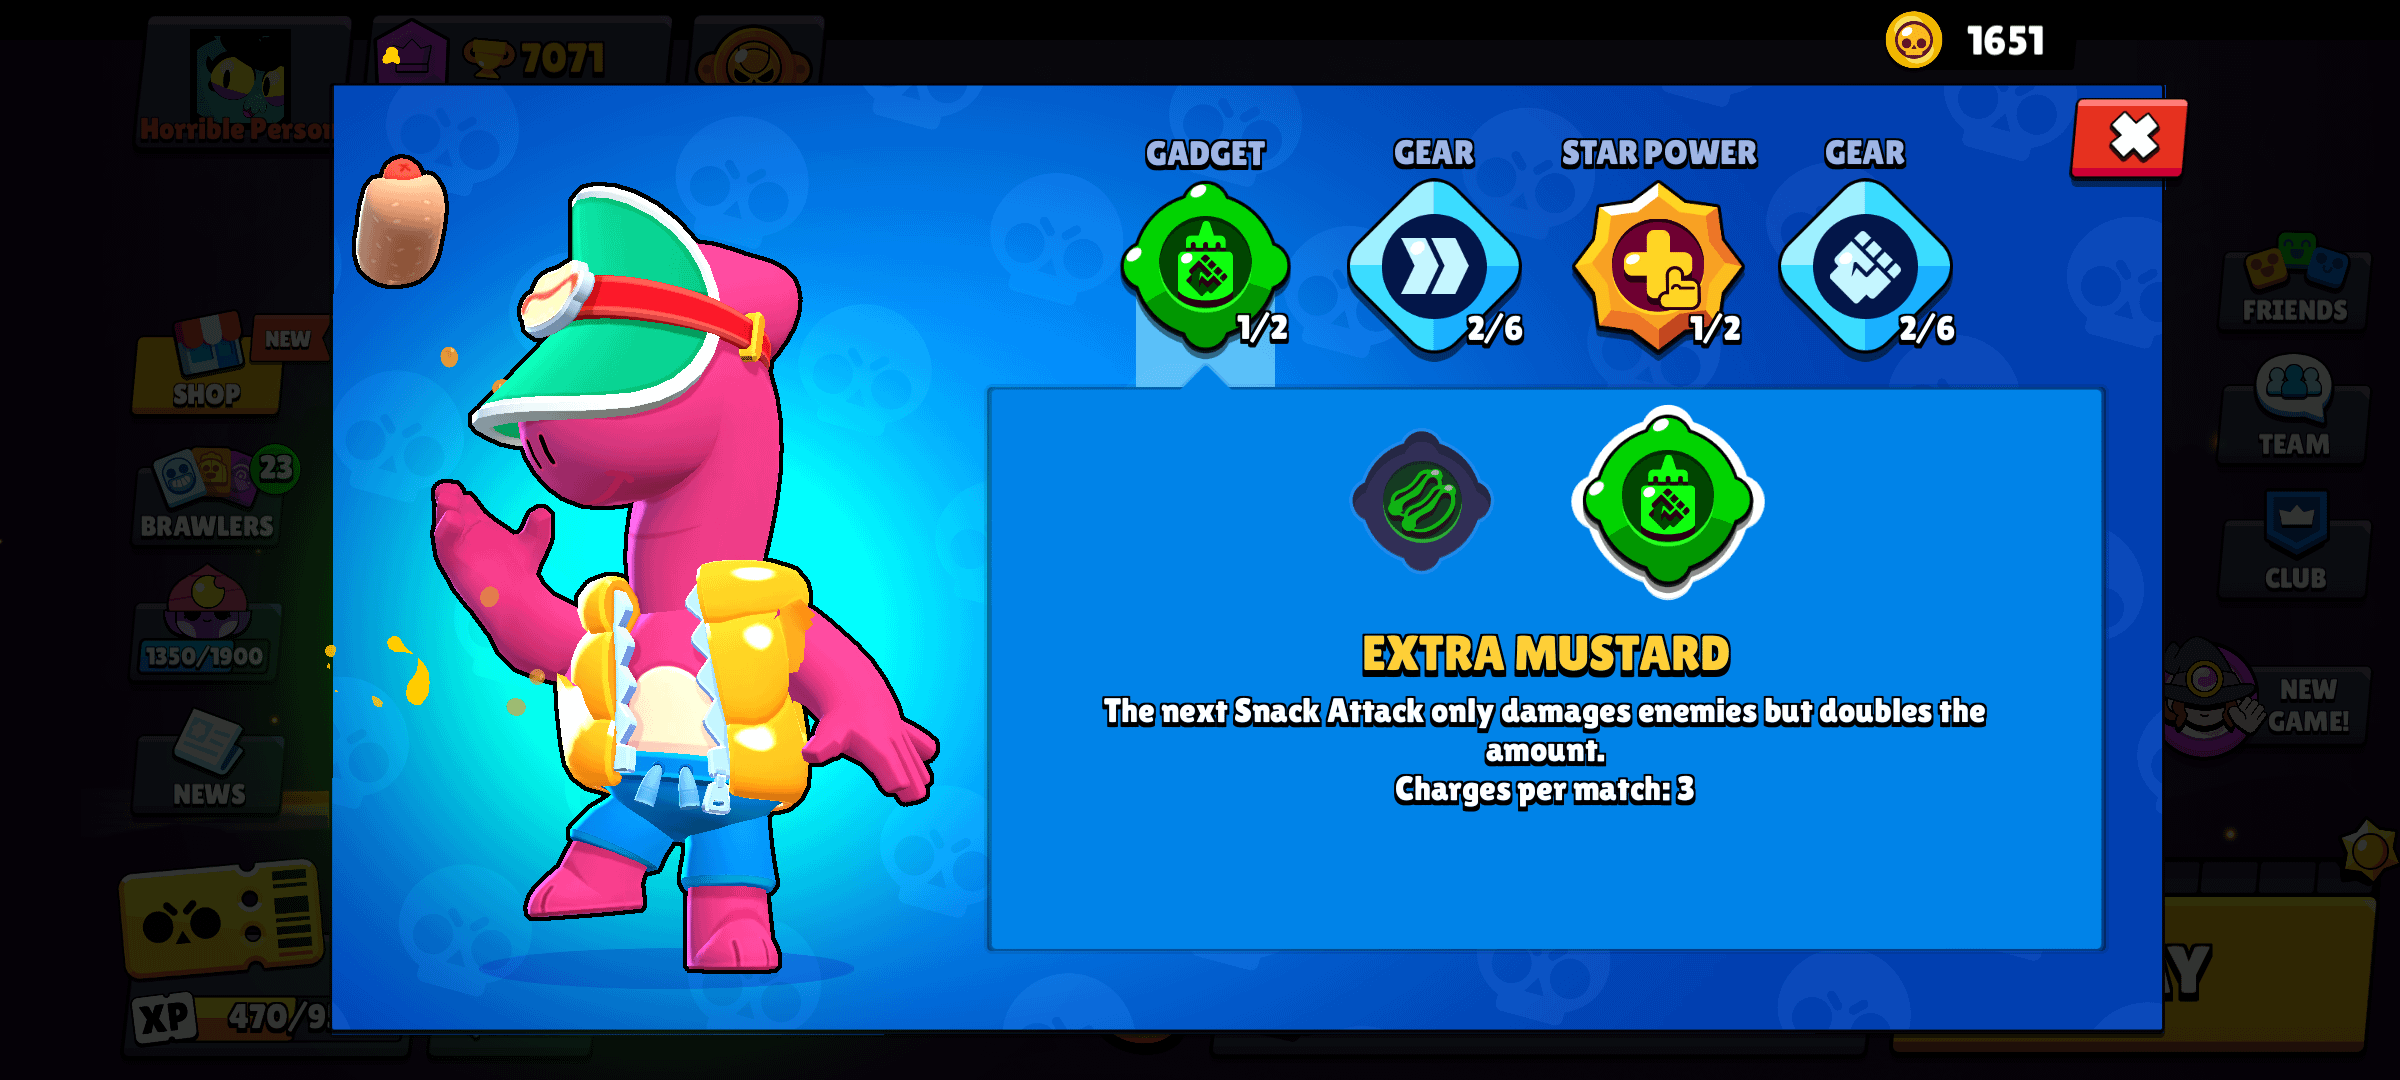
So, I started messing around with his kit properly. First up, the Gadgets. You got ‘Extra Mustard’ and ‘Double Sausage’.
I initially went with Extra Mustard. Faster reload speed? Sounds good on paper, right? More hot dogs flying, more potential healing. But in actual matches, I found I wasn’t needing that much faster reload. The windows where it felt useful were kinda small. Maybe it’s just my playstyle, I dunno. It felt… okay, but not game-changing.
Then I switched to Double Sausage. The extra healing on the next attack? Now this felt better for me. It gives you a nice burst heal when you really need it, either for yourself or an ally you’re sticking close to. It felt more impactful in those clutch moments. So, Double Sausage it was.
Sorting Out Star Powers
Next were the Star Powers: ‘Fast Food’ and ‘Self Service’.
Fast Food was tempting. Making revived teammates faster? Helps them get back in the fight or escape danger. I used this for a while. It’s definitely helpful, especially in modes like Gem Grab or Brawl Ball where getting back quickly matters.
But then I tried Self Service. Healing yourself while healing others? This one clicked with my more aggressive support style. See, I like being in the fight with Doug, not just hanging back. Being able to heal myself while topping off a buddy just felt way more sustainable. It lets Doug be more of a tanky presence, which I prefer. It made me feel less reliant on hitting only allies to stay alive. Big difference for me.
Gears and Putting It All Together
Gears, always the last piece of the puzzle. This part was less about massive changes and more about refining.
I went with the standard stuff at first: Health Gear is almost always a good pick for tankier brawlers, helps with survivability. Then I added the Damage Gear because, well, more damage is more damage, helps secure kills and adds pressure.
But after playing more with Self Service, I started thinking. That extra bit of healing from the Gadget Charge Gear could be really nice, letting me use Double Sausage more often for those burst heals. So, sometimes I swap Damage out for the extra Gadget charge, especially on maps where I feel I’ll need that emergency button more often.
So, after all that fiddling and testing in real matches, here’s what I usually run now:
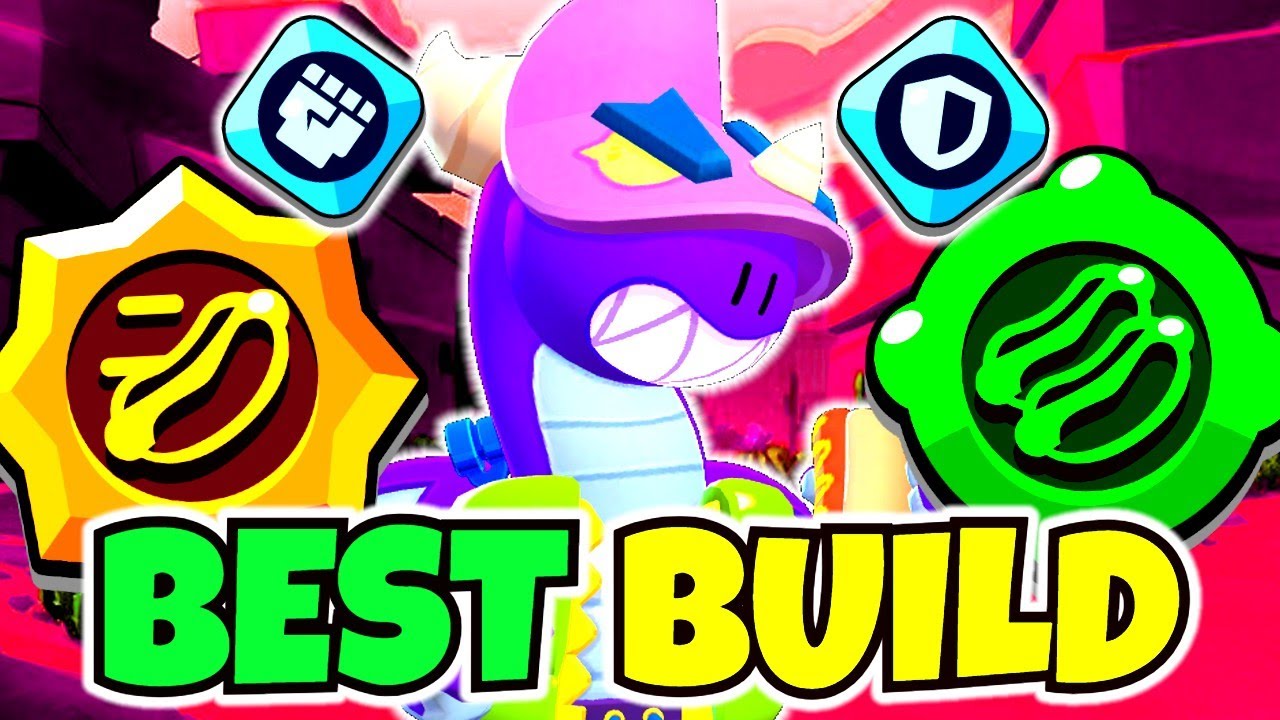
- Gadget: Double Sausage
- Star Power: Self Service
- Gear 1: Health Gear
- Gear 2: Damage Gear (or sometimes Gadget Charge Gear)
This setup just feels right for me. It makes Doug feel tough, lets me stay in the fight healing myself and others, and provides that emergency burst heal with the gadget. It’s not just about reviving; it’s about being a constant, annoying, healing presence on the battlefield. Took a while to get here, lots of losses learning the ropes, but this build feels solid now. It just works, you know?


